Table of Contents
A dark spot on your projector screen may result from dust accumulation, defective DMD chips, burnt polarization film, or an old lamp.
Regular cleaning, ensuring proper ventilation, and timely bulb replacement help maintain clarity.
This guide explains reasons, quick improvement, and maintenance tips to prevent dark or burnt spots.
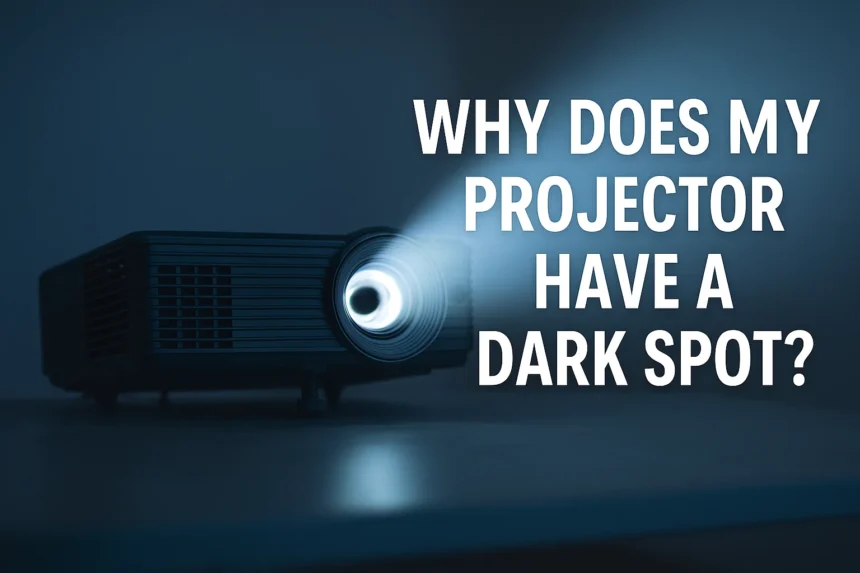
Why Does My Projector Have a Dark Spot
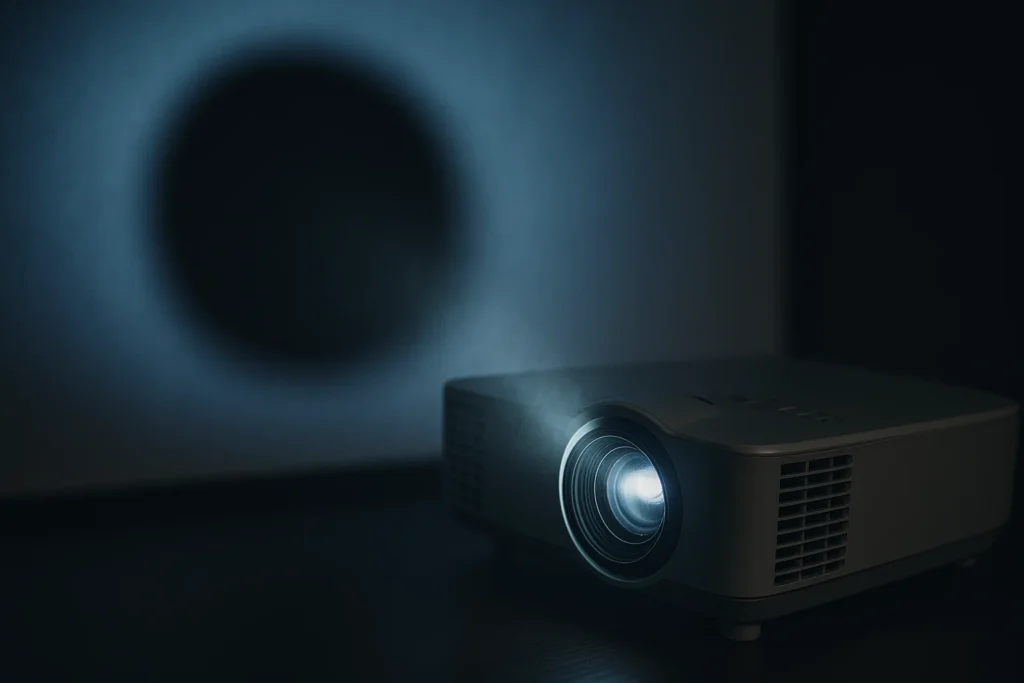
A projector should distribute crisp, vibrant views. But when a dark or black space appears, the first question the user asks is, “Why does my projector have a dark spot?”
This issue often stems from dust, overheating, or internal damage. Ensuring visual quality, longevity, and projection performance is ensured by quickly addressing these problems.
A projector works by directing light through many optical layers such as bulbs, lenses, polarization film, DMD chip, and LCD panel.
Any damage or contamination image in these internal projector components can create lighting, a dim region, or uneven projector lighting.
What Causes Dark Spots on Projector Images?
It is necessary to understand the reasons behind the dark or shady areas before trying to repair them. Here is why my projector has a dark spot or image malaise.
Dust Accumulation and Debris in the Light Path
The dirt range is one of the reasons that customers ask, “Why does my projector have a dark spot?”
Particles can settle inside lenses, LCD panels, or optical systems, which can cause moderate blockage. This projector image or a cloud offers results in a black spot on the stupid projection.
To repair this, smooth your projector lens with a lint-free material. Avoid compressed air inside the projector, as it is able to push the dirt deeply.
Solution: Keeping the surroundings dusty and making sure the right projector air flow enables you to save you habitual troubles.
Regular cleaning is essential because ignoring dust is one of the main reasons why does my projector have a dark spot over time.
Cracked or Scratched Bulb
A torn or scratched projector obstructs the bulb lighting path, causing slow regions or deep patches. Damage can be invisible to the naked eye; however, uneven brightness and the projector cause shadow troubles.
Solution: Change the projector bulb right now. Follow the manufacturer’s tips for your specific model. Regular replacement guarantees a regular optical system output and prevents general lamp failure.
Outdated Projector Lamp
Projector lamps deteriorate over the years, generating low, mild, and uneven projector light. An antique lamp can also leave projector burn marks or malaise spots in the image.
Solution: Monitor the lifetime of your lamp via the settings menu. When the brightness decreases considerably, replace the projector lamps to maintain the most desirable photo readability and projection show.
Defective DMD Chip
The digital micromirror device (DMD) chip contains thousands of small mirrors that create your approximate image. A defective DMD chip leads to black or white dots and sometimes black spots on the screen.
Solution: If spot cleaning and lamps remain after replacement, contact a technician for DMD chip replacement. The professional repair restores visual quality and extends your projector’s life.
A malfunctioning DMD chip is another unseen reason Why does my projector have a dark spot in my projector, as it directly affects the image formation.
Broken LCD Panel
In an LCD projector, a broken or burnt LCD panel can block the light, causing permanent dark or colored spots. This is usually a result of overheating or damage.
Solution: LCD panel repair or replacement is the only fix. Avoid DIY efforts, as the LCD layers are delicate and expensive to change.
Burned Polarizing Film
The projector polarization movie controls color and brightness. When it burns due to overheating or the color fades, you will see the shade of the photograph or the projector’s warm spot.
Solution: Change the burnt polarization film and ensure that your projector’s air flow system works nicely to avoid future heat damage.
Environmental Factors and Condensation
Keeping your projector in a dusty, humid, or heat ecosystem can cause condensation, particles, and lengthy -time period harm inside the light tract. These conditions can cause choppy projector lighting and photograph-associated flaws.
Solution: Keep the projector in an easy, weather-managed surroundings. Avoid the garage in external contact or wet regions.
Incompatible or Weak Power Output
Projector lamps deteriorate over the years, producing less light and uneven projector lights. An antique lamp can also leave projector burn marks or malaise spots on the image.
Solution: Monitor the lifetime of your lamp through the settings menu. When the brightness decreases significantly, the most desirable photo readability and projection require changing the projector lamps to maintain the show.
How to Fix Dark or Burn Marks on Projector Images
Once you identify the reason, it becomes easier to restore the black spots. Follow these steps for an easy, balanced picture and avoid asking again, “Why does my projector have a dark spot?”
Clean the Projector Lens
Use mild, non-woven material and optical cleaner to gently wipe the lens. Avoid touching the glass right away. Regular cleansing of the projector glass prevents buildups that cause black or blurred spots.
Keywords used: Clean projector lens, cleaning of projector glass.
Replace the Projector Lamp
Poor bulbs can cause the projector to have dim regions or black spots. Change it by following the manufacturer’s lamp-fierce recommendation. This ensures frequent projection performance and prevents overheating.
Maintain Proper Projector Ventilation
Poorly causes more heat due to poor airwash, causing optical parts such as the polarizer and the DMD chip. Regularly check and clean ventilation grills and internal wings.
Change Burnt Polarization Film
If your projector shows colored spots or image malaise, inspect the burnt polarization film. Replacement restores image clarity, and further heat damage can be prevented.
Keywords used: Projector Polarization Film, Burned Polarization Film.
Seek Professional Projector Maintenance
If none of these fixes work, you might still wonder why my projector has a dark spot even after maintenance; this means internal parts may need replacement.
For hardware trouble, which includes faulty DMD chips or broken LCD panels, projectors rely upon restoration offerings. A qualified technician ensures correct optical aspect care and expert projector renovation.
Also Read: Villa Ephrussi de Rothschild Wedding Cost
How to Prevent Dark Spots on a Projector Screen
Prevention is higher than restoration. It is mentioned here how to maintain your projector in its peak and avoid asking later, “Why does my projector have a dark spot?”
1. Maintain the projector often – clean the vent, filter, and lens monthly.
2. Ensure the right air flow – Never block airflow or enclose the projector in tight locations.
3. Use an easy environment – make the dusty room the projector’s lifespan.
4. Handle the projector with care – avoid scratches or effects.
5. Use a lint-free fabric for cleaning to prevent microscopic scratches.
6. Avoid outside publicity – it can cause condensation in the moisture projector.
7. Change the lamps on time – do not look forward to darkish spots appearing.
Keywords used: Maintain the projector regularly, ensure the right air flow, handle the projector with care, keep the environment loose from dust.
Quick Response Checklist
When you see a black spot:
- Check the dust accumulating on the lens.
- Observe the age and brightness of the lamp.
- See whether the location moves (dust) or remains stable (hardware defects).
- Check the projector’s burning marks or malaise.
If the solution is not done, contact a technician for projector troubleshooting.
Reconstruction of Required Points
Understanding why does my projector have a dark spot helps users take preventive action early, ensuring a long-lasting, bright projection experience.
- Black spots can arise due to dust, excess heat, or component failure.
- Regular cleaning and ventilation maintenance are important.
- Change projector bulbs and polarizers before burnout.
- Use professional help to repair LCD panels or DMD chips.
Always ensure adequate power generation and compatibility.